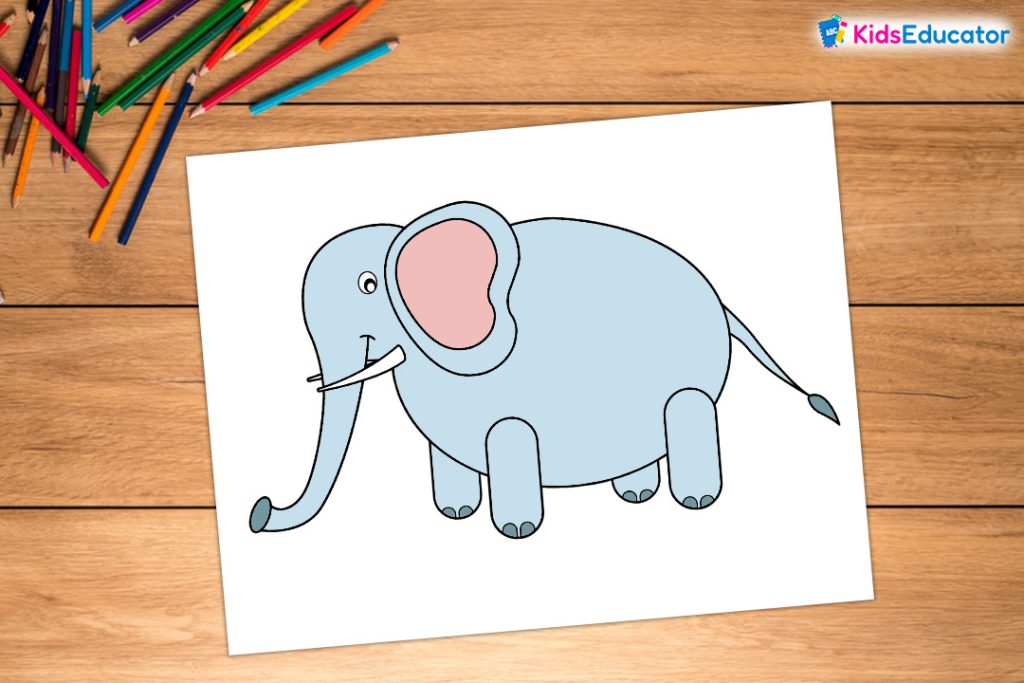
Creating an easy elephant drawing for kids is simple and fun. Start with a large oval for the body.
Drawing a cute elephant can be a delightful project for kids, allowing them to explore their creativity and learn about the animal kingdom. In this guide, we will provide simple and step-by-step instructions for drawing an adorable elephant that children of all ages can enjoy.
By following this tutorial, kids can develop their drawing skills and imagination while having an enjoyable time. Let’s dive into the world of art and creativity and learn how to draw a delightful elephant easily, providing a fun and engaging activity for kids.

Step 1: Drawing The Elephant’s Body
Begin by sketching the basic shape of the elephant’s body, and then add the legs and tail to bring your drawing to life.
Sketching The Basic Shape
Start by drawing a large oval in the middle of your paper. This will be the elephant’s body. Remember to keep your lines light, so you can easily erase any mistakes.

Adding The Legs and Tail
Next, add four short, thick lines at the bottom of the oval for the elephant’s legs. Don’t forget to draw a long, curved line for the tail at the back of the body.

Step 2: Drawing The Elephant’s Head
Creating The Ear
To create the elephant’s ear, start by drawing a large curved line that is somewhat similar to the shape of a fan. Then, draw another smaller curved line inside the first one to represent the inner ear.
Adding The Eye And Tusk
For the eye, draw a small circle near the top of the head. Then, add a small oval shape to indicate the tusk. The eye and tusk should be placed on opposite sides of the head to give the elephant a whimsical and adorable expression.

Step 3: Adding Details To The Elephant
Learn how to add details to your easy elephant drawing for kids in just a few simple steps. This step-by-step guide will help children bring their elephant illustrations to life with fun and engaging details.
Now that you’ve mastered the basic outline of an elephant in
Step 1 and added volume to it in
Step 2, it’s time to move on to
Step 3: Adding details to bring your elephant drawing to life! In this step, we will focus on drawing the trunk and decorating the body with patterns. Let’s dive in!
Drawing The Trunk
The trunk is perhaps the most distinctive feature of an elephant. To draw the trunk, simply follow these easy steps:
- Start by adding a curved line below the center of the face, extending downward. This will be the top part of the trunk.
- From the bottom end of the first line, draw a wider, curved line in an upward direction. Connect it to the left side of the face to complete the lower part of the trunk.
- Next, add a couple of small curves at the tip of the trunk to represent the elephants’ finger-like protrusions, known as the “fingers.”
- Finally, give your elephant a smile by adding a curvy line below the trunk, connecting the sides of the face.

Decorating The Body With Patterns
Now that the main features of the elephant are complete, it’s time to make it look more vibrant by adding patterns to its body. Here are some fun ways to decorate your elephant:
- Create a grid pattern: Start by drawing a series of horizontal and vertical lines across the body of the elephant. Then, fill in alternate squares with small dots or shapes of your choice, like stars or hearts.
- Add floral designs: Give your elephant a touch of nature by drawing simple flowers on its body. You can start by sketching a small circle in the center and adding petals around it. Repeat this process in various spots on the body to create a delightful floral pattern.
- Polka dots: Keep it simple and playful by adding polka dots all over the elephant’s body. Use a round-shaped stencil or make small, evenly spaced dots freehand to create this classic pattern.
Remember, adding details to the elephant is all about embracing your creativity and making it your own masterpiece. Don’t be afraid to experiment with different patterns and designs to give your elephant that extra special touch. Happy drawing!
Step 4: Coloring The Elephant
Now that the drawing is complete, it’s time to bring your elephant to life with colors! Coloring is an exciting part of the drawing process, where you can let your creativity and imagination shine. It will truly come alive on paper by carefully selecting the right colors and applying them to the elephant. Let’s dive into the coloring process!
Choosing The Colors
When choosing the colors for your elephant, you have the opportunity to explore different combinations and make your elephant unique. Begin by selecting the shades for the elephant’s body and patterns. It’s important to choose colors that complement each other and create a visually appealing and harmonious composition.
Coloring The Body And Patterns
Start by coloring the elephant’s body. The body colors can vary depending on the type of elephant you want to create. For a realistic elephant, you can use shades of gray, or if you prefer a more vibrant and playful look, experiment with bright and bold colors. Use gentle strokes, applying the color evenly to give a polished finish.
Now, let’s move on to coloring the patterns on the elephant’s body. Elephants are known for their beautiful and intricate designs, such as dots, lines, or even geometric shapes. Choose a contrasting color that will make the patterns stand out. Take your time and fill in each pattern, paying attention to the details and staying within the lines.
Remember to use light pressure while coloring, as it allows you to layer multiple shades and create depth. If you want to add an extra touch of creativity, you can also incorporate some shading or highlights to make your elephant drawing more realistic.
Once you finish coloring the elephant’s body and patterns, step back and admire your masterpiece. You have successfully brought the elephant to life through the power of colors. Whether you chose a traditional or imaginative color scheme, your elephant drawing is now a vibrant work of art that showcases your artistic skills!

Frequently Asked Questions On Easy Elephant Drawing For Kids
How Can I Teach My Child To Draw An Elephant?
Teaching your child to draw an elephant can be a fun and educational experience. Start by breaking the drawing down into simple shapes and lines, like circles and rectangles, and then gradually add the details. Please encourage your child to practice and experiment with different styles to develop their own unique elephant drawing.
What Are Some Easy Techniques For Drawing A Cartoon Elephant?
Drawing a cartoon elephant is a great way to spark your child’s creativity. Start by sketching a large oval for the body, and then add triangle-shaped ears. Use circles for the eyes and a curved line for the trunk. Adding simple details like a smiling mouth or floppy ears can bring your cartoon elephant to life.
Are There Any Online Tutorials For Kids To Learn Elephant Drawing?
Yes, there are several online tutorials that can help kids learn to draw elephants. Websites like YouTube and Art for Kids Hub offer step-by-step videos that break down the drawing process into easy-to-follow instructions. These tutorials are a great way for kids to learn and improve their drawing skills at their own pace.
How Can I Make The Drawing Process More Interactive For My Child?
To make the drawing process more interactive for your child, try incorporating games and challenges. For example, you can set a timer and challenge your child to complete the drawing within a certain time limit. You can also encourage them to add their own creative touches, such as giving the elephant a fancy hat or a colorful background.
Conclusion
This easy elephant drawing tutorial is the perfect activity for kids to express their creativity and improve their drawing skills. With simple steps and clear instructions, children can easily recreate an adorable elephant image. Whether for art class or simply a fun pastime, this guide is a great resource that provides a great learning experience while encouraging imagination.
Get ready to unleash your little artist’s potential and let their creativity soar with this delightful elephant drawing activity!