
To draw a turtle, start by sketching an oval for the body and a smaller oval for the head. Then, add the legs and the tail, and finish with the shell and facial features.
When drawing a turtle, it is important to pay attention to the details, such as the patterns on the shell and the shape of the beak. Drawing a turtle can be a fun and relaxing activity. Whether you are an experienced artist or just starting out, creating a turtle drawing allows you to explore your creativity and improve your artistic skills.
We will provide step-by-step instructions on how to draw a turtle, as well as some tips and tricks to make the process easier. So, grab your drawing supplies and let’s get started!
Step 1: Sketching The Shell
When learning how to draw a turtle, the first step is to sketch the shell. This is an important part of capturing the unique appearance of a turtle. In this step, we will focus on “Selecting the Right Shapes” and “Adding Dimension with Shading.”
Selecting The Right Shapes
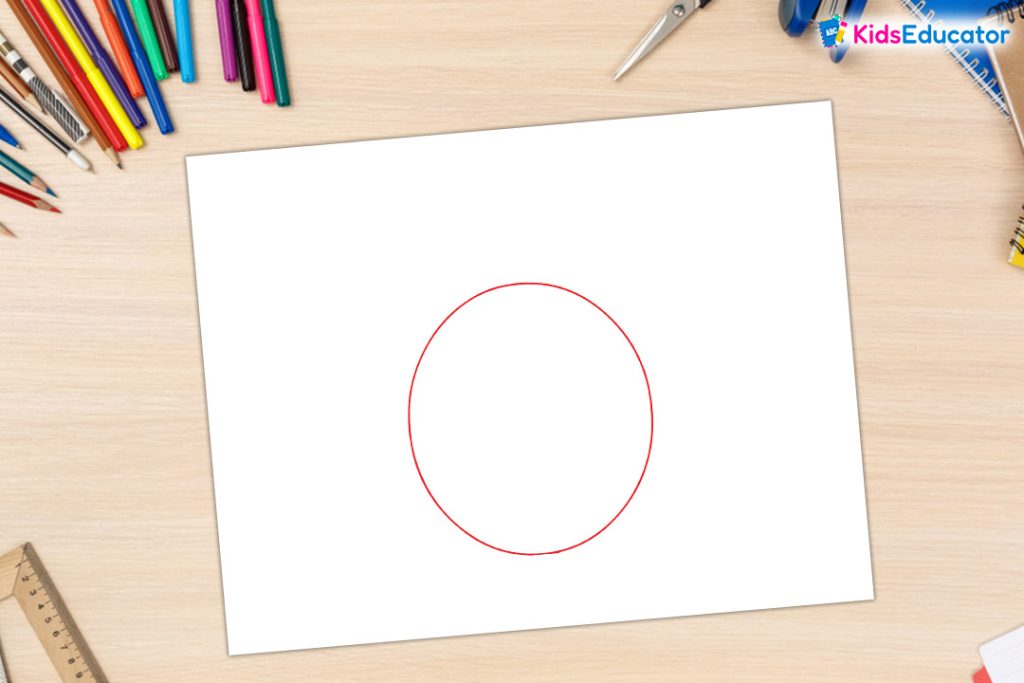
Begin by sketching the overall outline of the turtle’s shell. Use simple, basic shapes such as circles, ovals, and curved lines to outline the shell’s form. Start with a rounded shape for the main part of the shell and then add smaller shapes for the individual sections.
Adding Dimension With Shading
Once you have the basic shapes sketched out, it’s time to add depth and dimension to the shell using shading. Identify the light source and then shade the areas of the shell that would be in shadow, such as the underside and areas behind the sections. This will give the shell a three-dimensional appearance and make it look more realistic.

Step 2: Outlining The Body
Now that you have successfully created the basic outline of your turtle, it’s time to move on to the next step: outlining the body. This is where you will add more details and shape to your turtle, bringing it to life on the page.
Drawing The Head And Legs
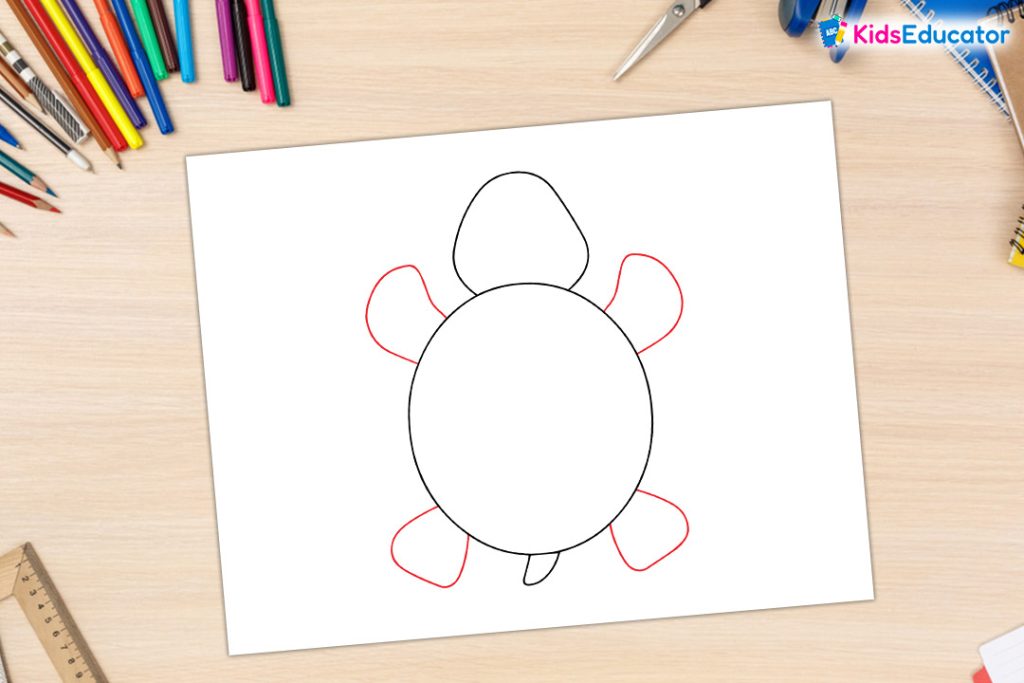
The first part of outlining the body is drawing the head and legs. Start by sketching a small circle towards the front of your turtle’s body. This will serve as the foundation for the head. From the main circle, draw two short lines downward and attach small circles at the end to represent the front legs.
Next, extend two more lines downward from the original circle to create the bottom half of the turtle’s body. These lines should start curving inward slightly as you move towards the back of the turtle. Once you reach the bottom center, draw two more short lines outward to represent the back legs. Finally, add small circles at the end of these lines to complete the legs.

Creating The Tail
Now that you have drawn the head and legs, it’s time to create the tail. Start by drawing a thin, curved line extending from the back of the turtle’s body. This line should curve upward slightly, and then bend back down and taper off at the end to create the tip of the tail. You can add small lines along the tail to indicate the segments if you wish, but this is optional.
Remember, as you outline the body, you don’t have to worry too much about making everything perfect. The goal is to give your turtle a general shape and structure. Later on, you can refine the details and make adjustments as needed.
Step 3: Detailing The Face And Features
In the third step of drawing a turtle, it’s essential to focus on the face and features, paying close attention to details like the eyes, mouth, and shell markings. This step adds character and depth to the turtle’s appearance, bringing it to life on the page.
To bring your turtle drawing to life, it’s time to focus on the face and features. This step is all about adding those small details that will make your turtle look realistic and unique. In this section, we will guide you through two important aspects: Adding Eyes and Mouth and Incorporating Texture. These steps will ensure that your turtle drawing pops off the page with personality and charm. Let’s get started!
Adding Eyes And Mouth
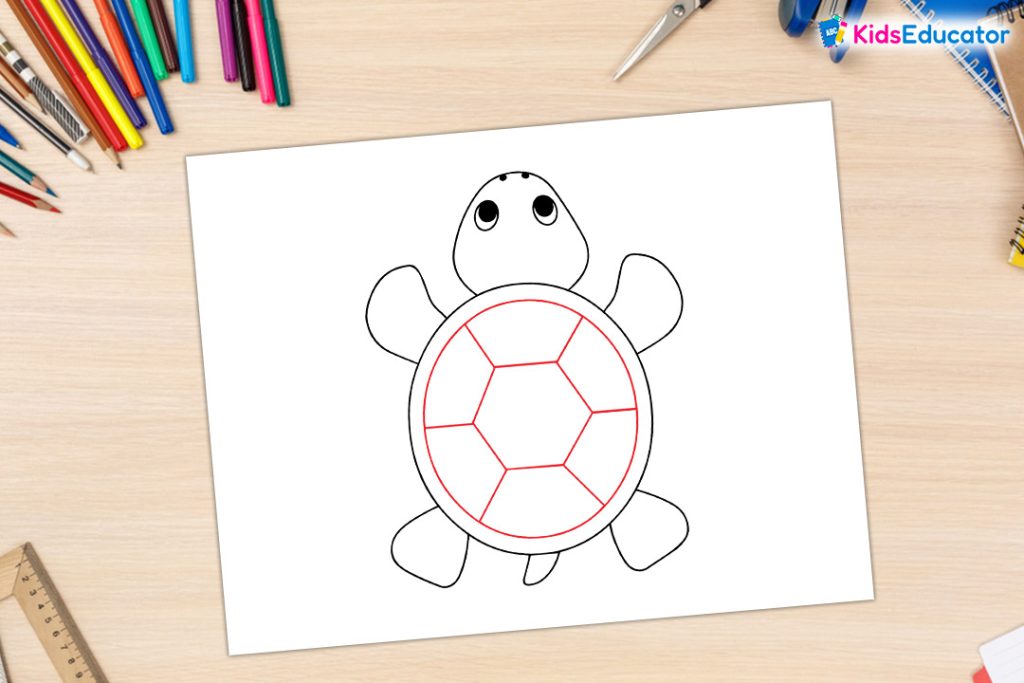
The eyes and mouth are crucial for capturing the character of your turtle. By adding these features, you can give your drawing a lifelike quality that will make it stand out. To draw the eyes, start by sketching two small oval shapes on the upper portion of the turtle’s face. Make sure they are evenly spaced and slightly tilted upwards. Next, add small circles within the ovals to represent the pupils. This will give your turtle a more realistic and focused look. For the mouth, draw a curved line in the center of the face, making it slightly open to show a hint of the turtle’s tongue. By paying attention to these details, you’ll bring your turtle to life.

Incorporating Texture
To give your turtle drawing a sense of realism, incorporating texture is vital. Turtles have unique patterns on their shells, which you can recreate by closely observing reference images or real-life turtles. Start by lightly sketching lines and shapes on the turtle’s shell to map out the texture. These lines can be irregular and varied in length to mimic the natural patterns. Once you’re satisfied with the overall texture, go over the lines with a darker pen or pencil, paying attention to shading and depth. Additionally, don’t forget to add texture to the turtle’s skin by lightly sketching small scale-like shapes along its body. This technique adds depth and realism to your drawing, making it visually captivating.
In this step, we focused on detailing the face and features of your turtle drawing. By adding eyes and a mouth, you give your turtle character and emotion. Incorporating texture brings your drawing to life with intricate patterns and depth. These simple yet effective techniques ensure that your turtle will capture attention and leave a lasting impression. Stay tuned for the next step as we continue to refine your turtle drawing!
Step 4: Enhancing Realism With Textures
One of the most important aspects of drawing a realistic turtle is to add the right textures to imitate scales and skin. The textures help bring your drawing to life and make it look more authentic. In this step, we will explore two techniques that will enhance the realism of your turtle drawing.
Imitating Scales And Skin
When drawing a turtle, it’s crucial to pay attention to the details of its scales and skin. To imitate scales, you can use short, curved lines arranged in rows along the turtle’s back and limbs. These lines should follow the curves of the turtle’s body, creating a pattern that resembles the texture of scales.
To enhance the realism further, you can add some irregularities to the scales. Not all scales are the same size or shape, so feel free to vary their appearance. Some scales might overlap or have tiny bumps, giving the impression of a natural texture.
To indicate the texture of skin, you can use shading techniques. Start by observing the turtle’s skin and identify areas where there are wrinkles or folds. Use light shading to create these patterns. Remember that the direction of your pencil strokes should follow the contours of the turtle’s body, mimicking the natural texture of its skin.
Emphasizing Depth With Highlights
To take your turtle drawing to the next level, you can emphasize depth by adding highlights. Highlights are the bright spots on a surface that catch the light and give the illusion of three-dimensionality. By incorporating highlights into your drawing, you can make certain areas of the turtle’s body appear shinier and more realistic.
To create highlights, first identify the light source in your drawing. Once you know where the light is coming from, imagine which areas of the turtle’s body would be hit by this light. These areas will be the brightest parts of your drawing. Use lighter shades or leave those areas completely untouched to create the highlights. This technique will give your turtle drawing depth and make it appear more lifelike.
Remember to keep practicing these techniques to master the art of drawing textures and enhancing realism in your turtle illustrations. In the next step, we will focus on adding the finishing touches to complete your masterpiece!
Step 5: Final Touches And Fine-tuning
Once you’ve refined the basic structure of your turtle drawing, it’s time to add those final touches and fine-tune the details. This step will bring your turtle to life! Follow the simple steps below to complete your masterpiece.
Refining Lines And Edges
Take a closer look at your turtle drawing and pay attention to the lines and edges. This is where you can make small adjustments to achieve a more polished and professional look. Use the following techniques:
- Smooth out rough lines: Use a fine-tip eraser to softly remove any unwanted lines. This will help create cleaner edges and make your turtle look even more realistic.
- Strengthen the outline: Go over the main outline of your turtle with a darker pencil or pen. This will make the shape stand out and give it a bolder appearance.
- Sharpen details: Pay attention to the smaller details, such as the eyes, scales, and shell patterns. Use a sharpened pencil or a fine-tip pen to define these areas with precision.
Adding Personal Touches
Now that you’ve refined the lines and edges, it’s time to add your personal touch to the turtle drawing. This is where you can get creative and make your drawing unique. Consider the following ideas:
- Color choices: Decide on the colors you want to use for your turtle. You can go for a realistic look by using shades of green and brown, or opt for a more imaginative approach with vibrant and unexpected colors.
- Texture and shading: Experiment with textures and shading techniques to give your turtle a three-dimensional appearance. Use hatching or cross-hatching to create depth and shadowing.
- Background: Think about the environment your turtle will be in. Add a simple background or elements that complement your turtle, such as rocks, plants, or water.
Remember, these are just starting points to inspire your creativity. Feel free to add any personal touches that make your turtle drawing special and reflect your unique style.

Frequently Asked Questions Of How To Draw A Turtle
How Do You Draw A Turtle Step By Step?
To draw a turtle, start by sketching a large oval for the body, and add smaller ovals for the legs and head. Next, draw the shell by outlining a curved shape on top of the body. Then, add eyes, a mouth, and details to the shell.
Finally, erase any unnecessary lines and color in your drawing.
Conclusion
To sum it up, drawing a turtle can be a fun and rewarding experience for artists of all levels. By following the step-by-step instructions and practicing regularly, you can create a lifelike turtle drawing that will impress others. Remember to focus on the unique characteristics of a turtle, such as its shell and flippers, and let your creativity shine through.
So grab your pencil, unleash your inner artist, and dive into the wonderful world of turtle drawing!